We have this cool Zmorph printer here at the Amsterdam HQ, so it was about time we put it to work 
It’s their latest 3D printer with all the things that come with it. It’s truly a personal fabricator, with a lot of options to make some nice models.
Let me just give you guys an idea of what came with it…
-
The ZMorph 2.0 S - 3D printer
-
DUAL head extruder, for 1.75mm filament
-
Print head 1.75mm extruder
-
Print head 3.00mm extruder
-
Chocolate(!) extruder
-
Ceramics and paste (e.g. cake!) extruder
-
Laser module, for cutting and engraving
-
Touch probe for calibration
-
Heated bed + glass bed and a buildtek print plate
-
Dremel + mount, for 3d and 2d milling
-
Plywood work platform for cnc milling
-
Photo camera trigger + rail, for time lapse photography
-
Toolbox
We were pretty impressed by all the parts and possibilities that came with this printer. I think I even forgot a couple of parts, but all the different printer heads already gives you a lot of ways to create stuff
Anyone said CHOCOLATE models?!
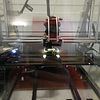
The cool thing is that the printer itself doesn’t look like a standard box shaped printer.
It looks like a really well engineered machine with the robust aluminium frame and a plexiglass body and cover. Even some of the parts for the printer itself and the different print heads were printed.
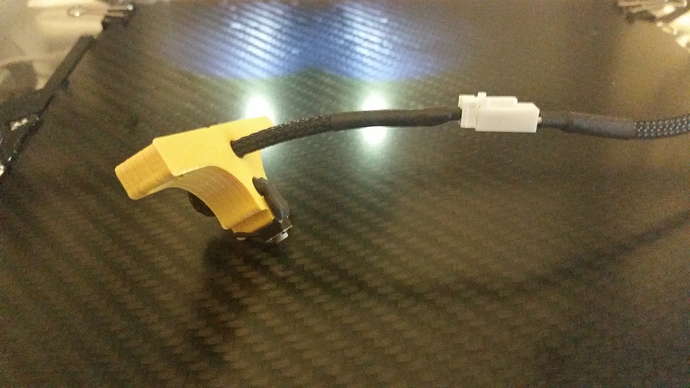
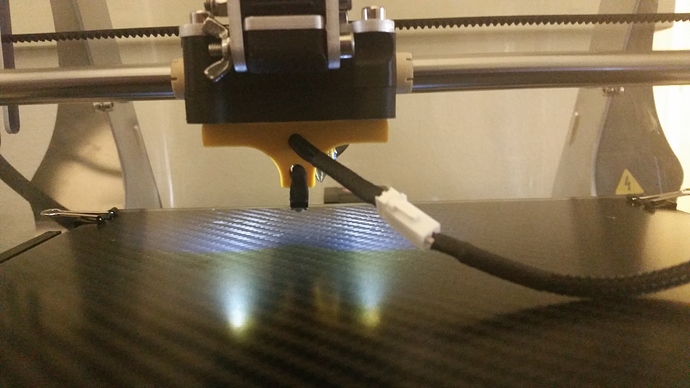
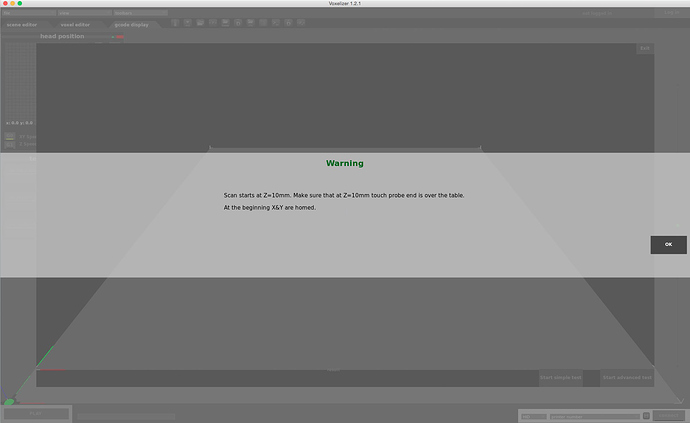
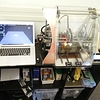
So we’ve started to set it up to calibrate the machine, which is actually pretty cool because of the option to automatically measure if the build platform is leveled.
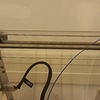
This is the probe with the microswitch to do so:
You can easily stick it to the print head with the built-in magnets, make sure that the distance from the printbed is at least a centimeter.
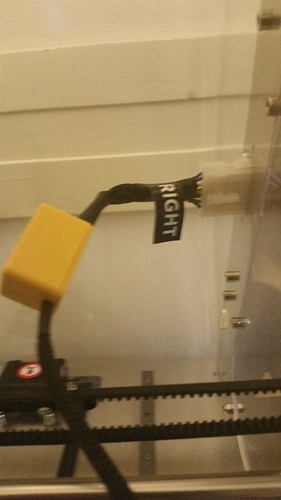
Connect the plug on the correct side
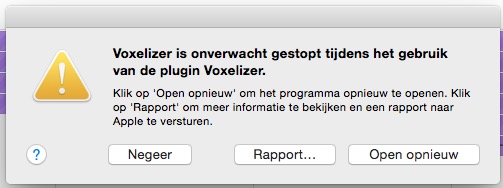
Start the Voxelizer software and connect the USB to your laptop.
You can connect the printer using the options in the bottom right corner of the screen.

The 4th button from the right is the one for calibration.

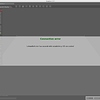
Here’s a warning so you can double check if the height is correct.
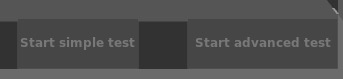
You have two options, a simple and advanced test.
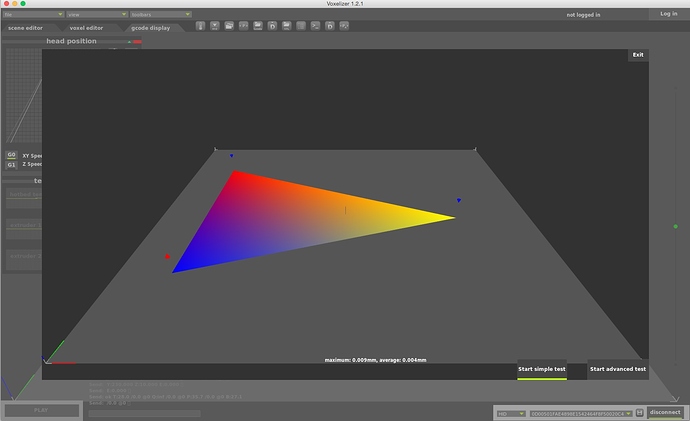
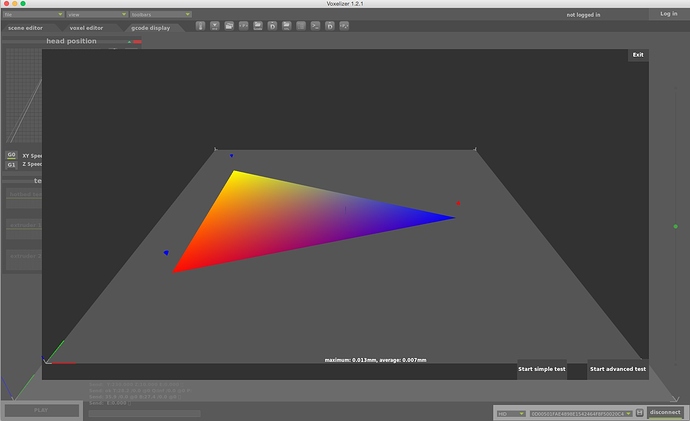
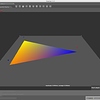
The simple test measures the relative height of the bed at three points, close to the screws that hold the platform and are used to adjust it. The advanced test measures 25 points all around the bed. After you’ve completed the first simple test you’ll see something that looks like a heath map. The blue and red arrows indicate whether or not to loosen or tighten the screws.
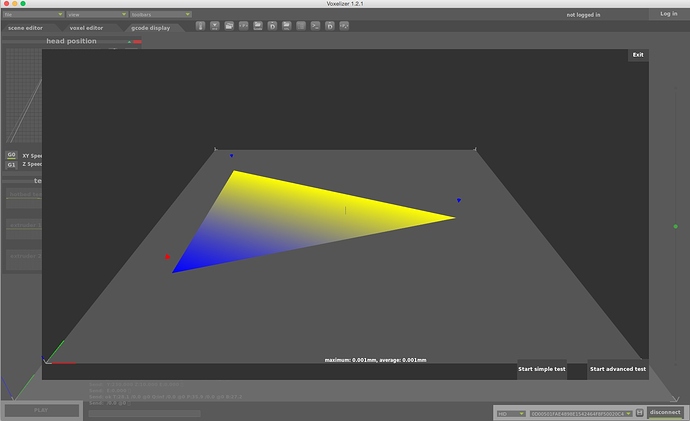
We started adjusting the screws to level the bed, which you can see by the colors and the maximum and average distance on the bottom of the window.
There were still some improvements to be made.
Don’t look too much at the color, since it’s all relative compared to each point.
But we managed to calibrate the printer pretty precise! Up to 1micron isn’t too bad right
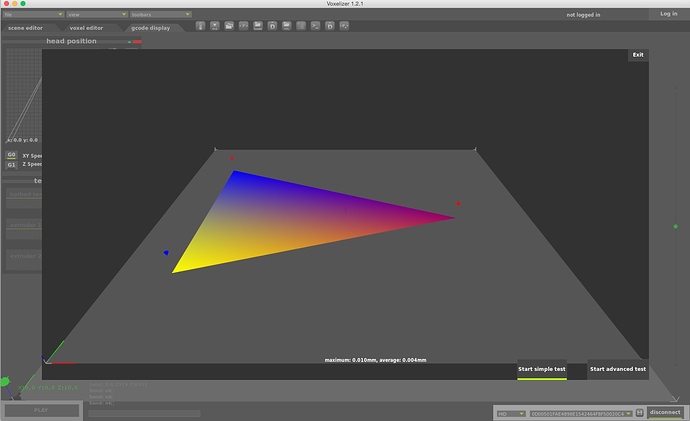
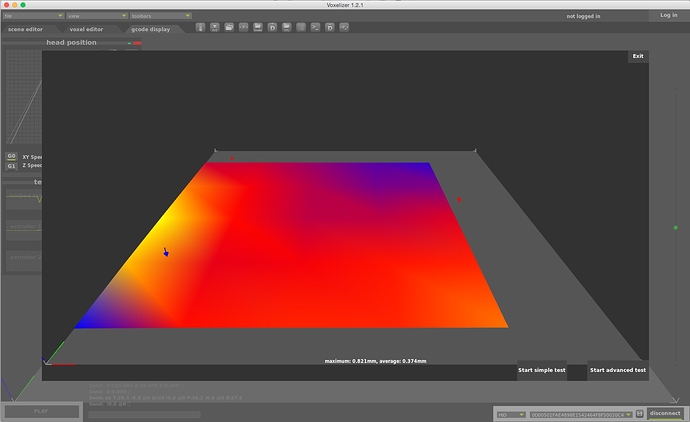
The advanced test takes a little bit longer to perform, but it’s recommended to do that after the simple calibration test. Here’s an example of how the heath map for it looks.
*Please note the following screenshot was taken before the final calibration.
After the whole process we only needed to adjust the Z-height a little bit to make sure the nozzle was set to the correct height.
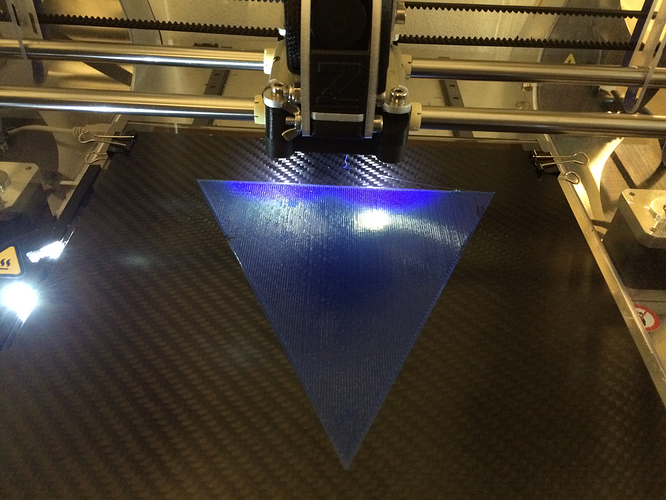
To see if the whole process worked we printed a calibration triangle, the Gcode for the model was already on the internal memory. It’s not very visible on this picture because of the lights, but the result was pretty nice without loose spaghetti.
So far:
I personally think the ability to use this calibration probe is one of the coolest features for 3D printers! I honestly wish other printers supported this, or a similar option. But they don’t all have the sunbeam 2.0 electronics… the main reason why the Zmorph has native support for so many different toolheads and extensions like the calibration probe.
I’ve tried a couple of test prints on the heated glass printbed, as well as with the blue tape. Some models with a brim or powerraft, others without. Not all of them were sticking so I decided to use the buildtak plate. Luckily the guys from Zmorph included this in the package, since I didn’t want to use glue or hairspray because it tends to get a little bit messy. But the buildtak plate improves the sticking of the models so much more.
I’ve only tried to print with the PLA so far, but there was some “ABS glue” included in the toolbox.
I really want to find some more time to experiment with the different settings, toolheads and materials.
Have you guys already made some cool prints, chocolate castles, cakes or ceramic cups with this printer?