Hi All,
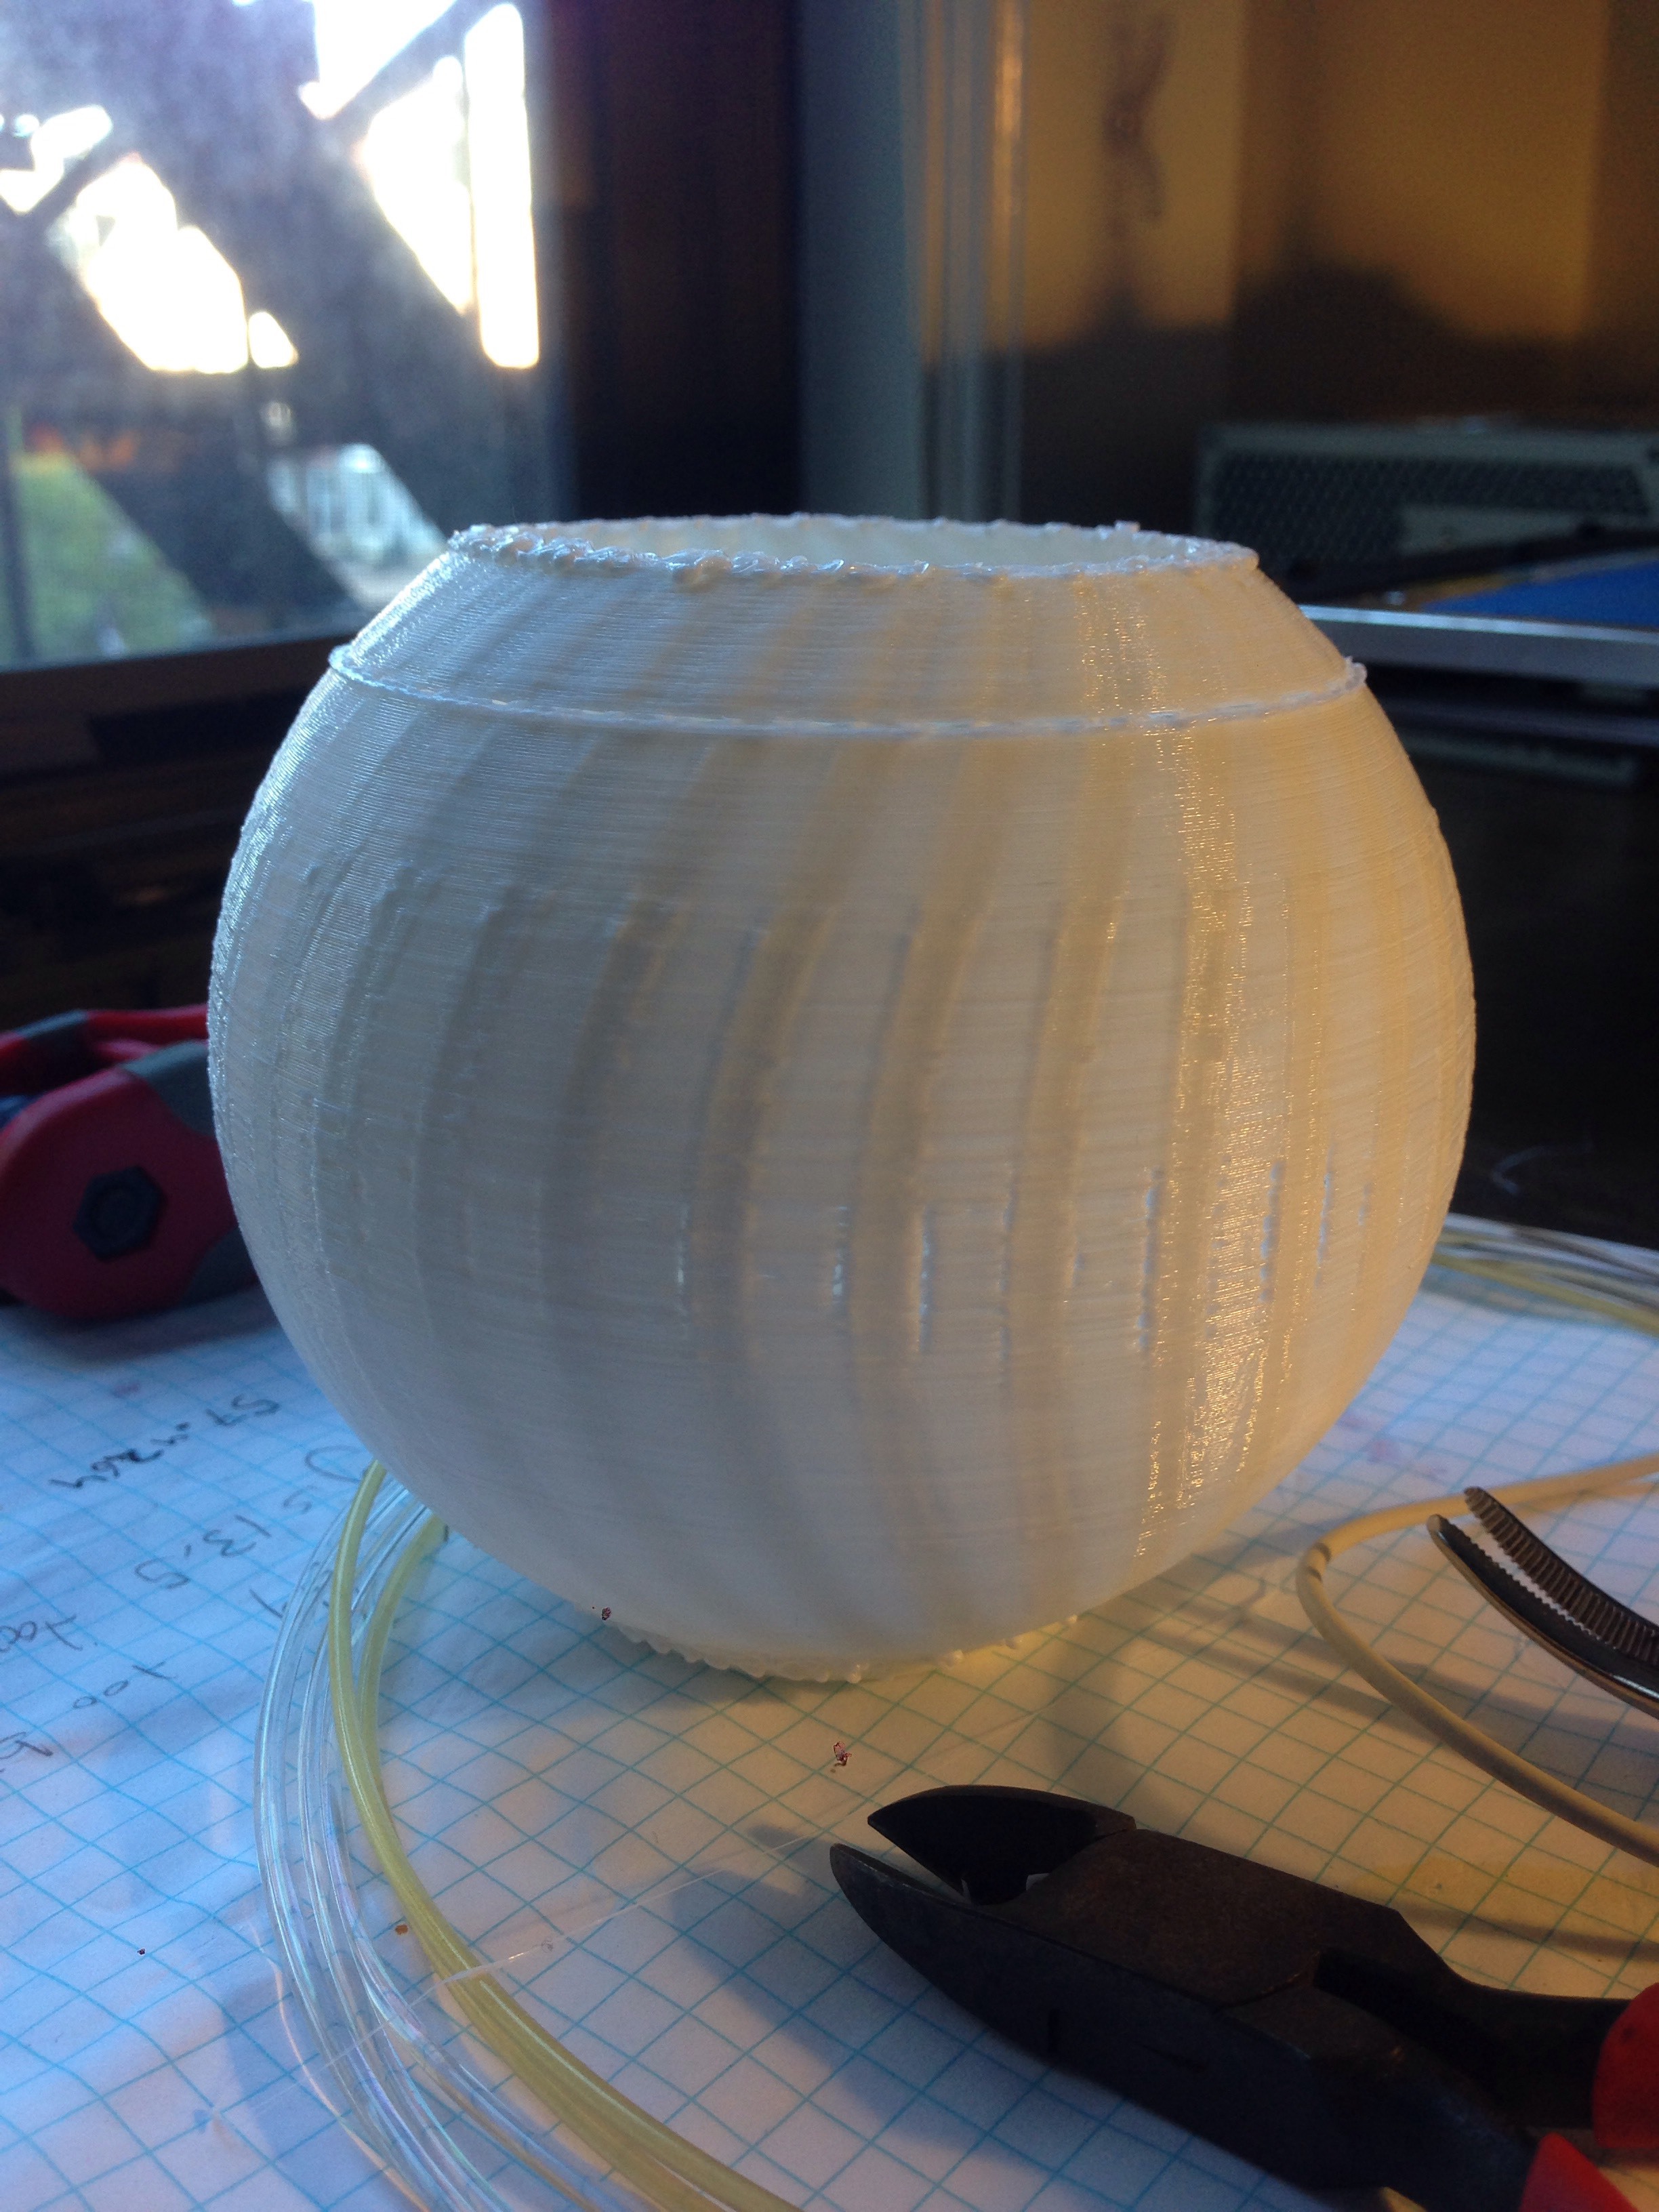
I’ve been having an intermittent problem with my printrbot simple metal in which it seems multiple layers are being squished together. To get a better idea of what’s happening, take a look at the attached photo.
The incidents begin with a cracking sound caused by the extruder nozzle being on the same z axis plane as the top layer (or few layers) of printed material. It seems like the Z axis is not moving up far enough at points in the print which causes the layers to squish and the extruder nozzle to impact printed plastic.
As I mentioned earlier, the problem is intermittent making it even harder to diagnose. Some tall prints come out great. Other prints have squished layers but the printer seems to correct itself and finish the print. I thought it may be a stripped z axis thread, but the layer squishing happens at all different heights.
In the case below, the line near the top of the sphere was caused by an incident like this, but I caught it early enough to intervene. I paused the print, moved the z axis up about .3 mm and then used G92 to tell the printer its z axis was at the height it had previously thought it was at. While it worked for the first incident of this print, I wasn’t lucky enough to catch the second and the sphere was eventually knocked off the bed by the print head.
Any thoughts on what this problem could be?
2 Likes
Not sure why the image I attached is rotated… Can’t seem to upload it in any other manner…
MB3D
3
Maybe the Z axis motor is loosely connected so not all “go up one layer” commands from the controller board will be executed.
Otherwise you should definitely check, that your flowrate is proper and you should check the filament diameter (just to be on the safe side).
If the issue isn’t in the mechanics or electronics then I’d suggest to upload new firmware to your Printrbot, maybe the Z axis scaling isn’t set correctly* or any other setting in Marlin was wrong.
*This should cause all layers to be printed badly, but check that anyways.
I’d advise you to connect the Printrbot to your PC and then you should tell the printer to lift / lower the Z axis via the PC, move the printhead to the minimum and maximum of the Z axis several times, check for any mechanical issue, apply grease to the rods and in the worst case you should consider disassembling the axis to replace the bearings or similar. Check for any dirt accumulation along the moving parts and make sure the electronics are connected and protected properly. The wires should NEVER be streched to the limit when printing (ie when the Z axis is moving to the highest position it pulls heavily on the cables), also use spiral tubes to group the cables and secure them with cable ties.
Cheers,
Marius Breuer
Glow3D
4
I wouldn’t expect it on the print you’ve got in the photo, but we’ve had problems where the print lifts off the bed in sections, so it it’s higher than the printer expects and you get the squash effect.
Hi Calvin
It’s possible that the set screws in the coupler holding the Z Axis to the motor have started to come lose. This would mean that, occasionally, there may be a bit of slippage on the Z axis. Did you get the printer assembled or did you build it yourself? If the latter, did you use threadlocker on the screws for the coupler?
Ian
When looking at the print I would have to agree with Ian here. It seems like your set screw is not tight enough and would suggest using thread lock and possibly a z-axis stabilizer from Thingiverse.
Hi Ian,
We received it assembled, but I’ll check those set screws and if they’re at all easy to take out I’ll apply threadlocker. Thanks!
We are using the z-axis stabilizer, but I’ll check the set screws and see if they have any play.
Maybe the top of our print is curling up? That would make it seem as if thy extruder head were too low when in reality the printed material is too high… This print did have a lot of overhang which could have led to warping. We are also using a custom printed fan shroud to accommodate for having a larger custom fan pointed at the extruder head. Maybe it’s not doing as good a job as we think?..
Hi Marius,
The flowrate and filament diameter settings are all good to go it seems. I’ll check that all cables are properly connected when I get the chance. I’ve done the lower and raise test on multiple occasions - sometimes I see nothing, and sometimes I think I see tiny skips. But honestly, I can’t really tell because they’re so small. Regardless, they always happen at different heights. This could indicate loose set screws similar to what others in the thread are mentioning. I will also check for dirt on the threaded rod. Thanks!
Yours,
Calvin Ryan
They should be easy to remove. Threadlocker is important, but one thing I’ve done to mine after my Z-Coupler came loose was to grind a flat on the end of the leadscrew where it goes into the coupler. This gives a much better surface for the set screw to grip against, and better prevents any rotational slip or backlash as long as the set screw is at least snug.
Ok, first I realize this is a really old post…
but but I had this exact same problem manifest itself after installing a heated bed on my printrbot go large.
your s axis stepper control is overheating, due to over driving your steppers or poor thermal management,
solution, drop the current on your stepper driver and add a small fan to cool your driver
Jory
13
Following this…having a very similar issue. Did you ever figure out the problem?
