HOW TO SET UP A FOUR-BOTTLE 3DPONICS SYSTEM
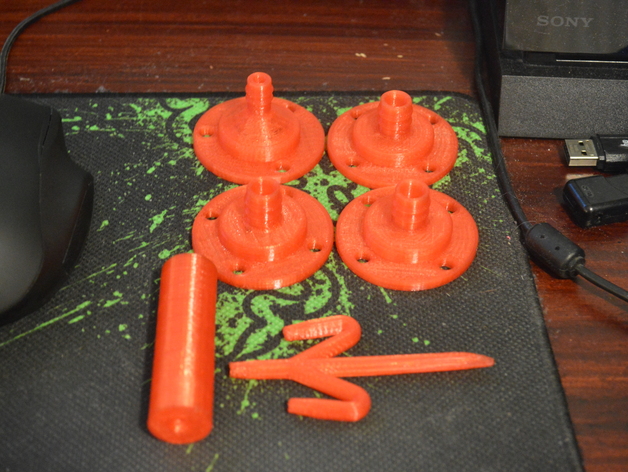
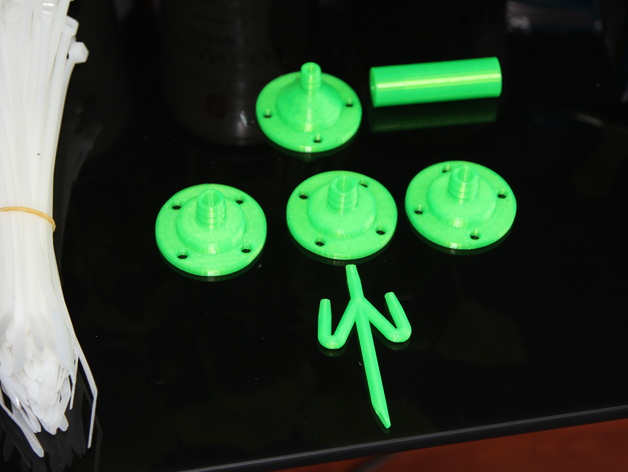
What you’ll need3D-printed parts:
-4 drip nozzles
-conduit
-silencerOther:
-4 empty plastic bottles
-4 plants (tomatoes, cucumbers, green peppers, herbs, etc.)
-hydroponics growth medium (growstones or equivalent) (pre-soaked for a couple
of days)
-aeration kit for aquariums
-vertical support column for
tubing
-air pump
-rubber tubing for an aquarium air
pump or similar
-zip ties
-support structure (coat rack or a ceiling hook recommended)
-scissors
-a water jug (4 L, 8 L or 9 L recommended)
-hole puncher
-utility knifeInstructions1. Download the 3D design files for the
3D-printed drip nozzles, conduit and silencer from Thingiverse and start
printing
.2. Set up the support column:
(a) Take several bamboo sticks and fasten them together using zip ties to create
about a 6-foot pole.
(b) Secure the conduit to the bottom of the bamboo pole using zip ties, making
sure that the end of the conduit sticks out a little bit from the end of the
bamboo stick. This ensures better suction. Cut off the excess plastic from the
zip ties.
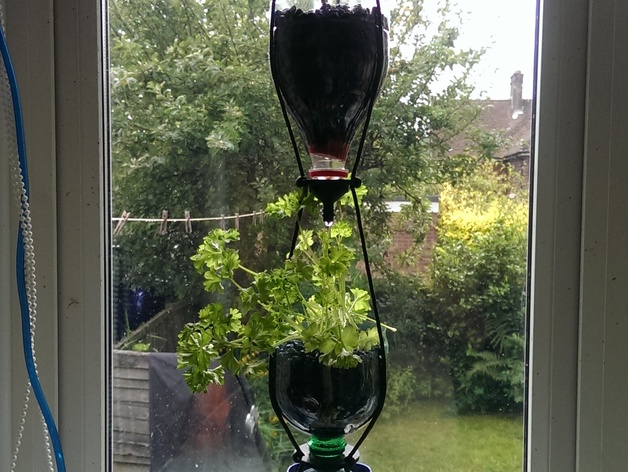
3. Prepare the plastic bottles:
(a) Cut off the bottoms of the plastic bottles with a sharp knife. Discard the
bottoms.
(b) Using a hole punch, make four holes along the edge of each bottle (the
holes should be placed evenly around the bottle, one across from the other)
4. Set up the rubber tubing
(a) Measure how much tubing you’ll need to cover the entire length of the
column. Ensure you have a little bit extra at the top of the column (this will
be needed for attaching the silencer).
(b) Attach the tube to the bamboo pole using zip ties. Cut off the excess
plastic from the zip ties when you’re done.
(c) At the bottom of the bamboo pole, cut the tubing in the spot where it
connects with the conduit, and attach the two parts together, making sure to
push the conduit into the tubing as far as it will go.
5. Connect the tubing to the air pump6. Set up the vertical bottle system:
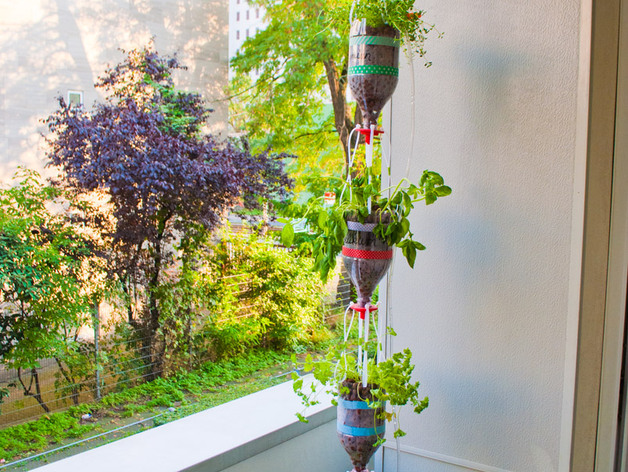
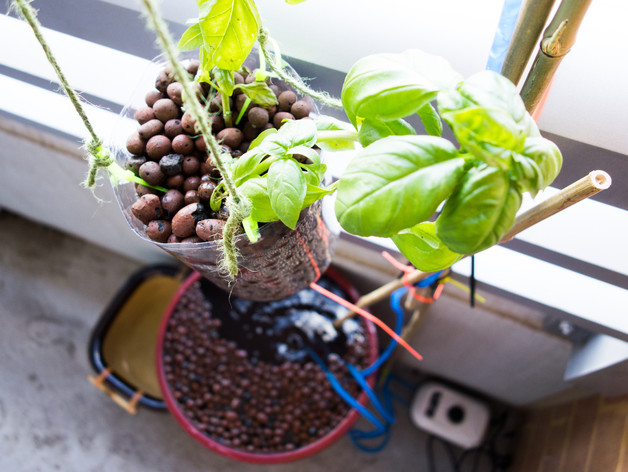
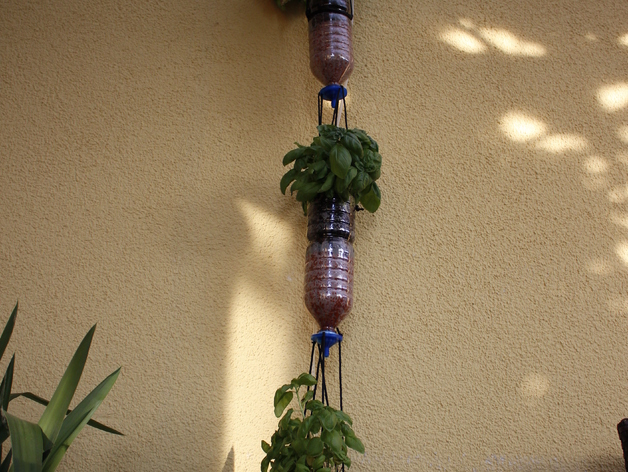
(a) Take the 3D-printed drip nozzles and screw them onto the plastic bottles.
(b) Turn the bottles upside-down so that the nozzles are pointing downward. Working
with one bottle at a time, fill each bottle halfway with the pre-soaked
growstones, add the plant (removing as much soil from the roots as possible)
and then add some more growstones until the plant can stand up securely on its
own without falling over.
(c) Using zip ties, attach the first bottle to the hook at the top of the
support column (this is why using a coat hanger is the best option—it has a
built-in hook).
As you finish each bottle, secure it to the support column.Start growing healthy and fresh vegetables, fruits or flowers.
Please join our community, register your system on the global map at 3dponics.com