Design for 3D Printing with ZBrush
Zbrush is a digital sculpting tool by Pixologic.
Compared to more traditional modelling programs, ZBrush is very different and for new users it can be hell to get started with (including me).
As an Industrial Design Engineering student I’ve worked with very precise 3D CAD software, like SolidWorks and Rhinoceros. I got interested in ZBrush when I had a 3D scan made of my upper body. Even though the scan was quite cool, I was not totally happy with the details and at that moment I used ZBrush to do some retouching which was really great and helped me to improve the model a lot. Being a 3D Printing Expert at 3D Hubs, I wanted to get back on track and improve my ZBrush skills.
In the beginning it was really difficult to get used to ZBrush as there are few comparisons with software I worked with previously and many things were not logical to me. This meant hours of watching tutorials, asking @robin for help and using another one of my best friends: Google, to figure everything out. After using ZBrush for a while now and experimenting with 3D Printing I’ve made a small guide on ZBrush in combination with 3D Printing on how to split up your model but make it re-attachable. I hope these design tips might help you out and hopefully inspire you to use ZBrush for modelling your objects and get them printed (through 3D Hubs of course).
Basic knowledge for ZBrush is required but hopefully it’s well enough explained so beginners will also understand what I’m doing.
In this guide I will explain how to:
- Split a model into pieces to make a bigger print.
- Add a joint to one part so it’ll fit onto another piece.
- Use the grid and do measurements in ZBrush and how to measure in ZBrush
- Scale your model to your preferred size
- Save the object as an .stl file to print on your desktop printer.
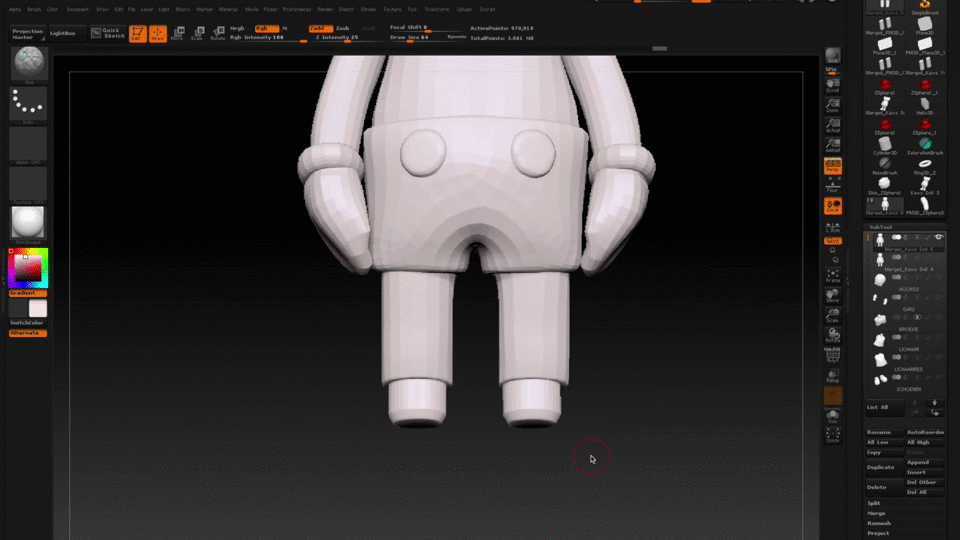
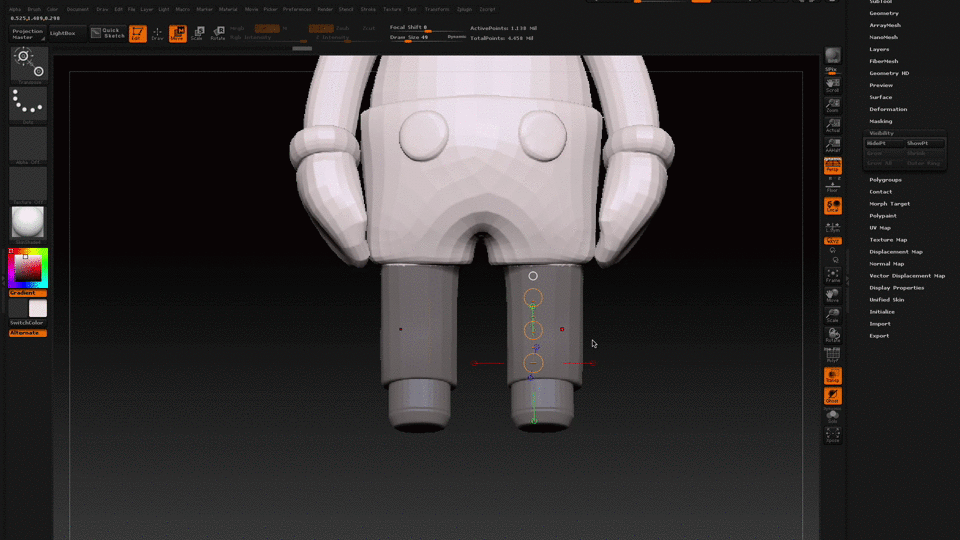
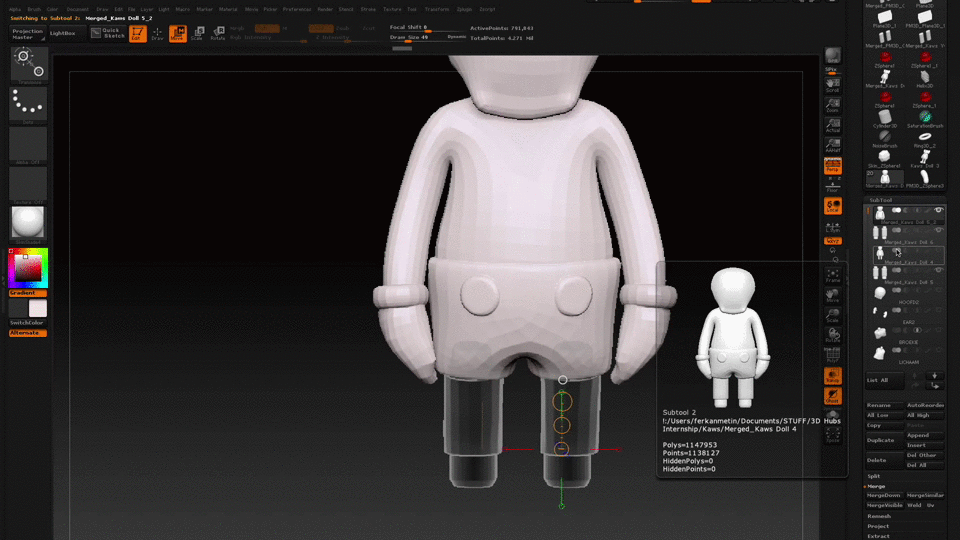
I will explain the process through a designer toy I’ve modelled, the Kaws companion by Brian Donnelly.This model was partly sculpted with the use of two images as reference.
Before getting started, I will quickly go over some basics which can be quite confusing if you don’t know them. ZBrush makes use of “(subt)tools” which are the individual 3D models of the file. (By default, ZBrush loads in a confusing view that doesn’t allow you to model. You want to start off with a primitive and then replace this with either a model that you made outside of ZBrush or start sculpting on the primitive. In any case, make sure you have “Edit” on at all times.
Load your model as a tool that you have designed in any kind of software into ZBrush.
MEASURING MODEL
The first time I used ZBrush I was amazed (and also a bit annoyed) that it doesn’t put a lot of value in measurement-based modelling. I never knew how big a part of my workflow it was and if I had to scale it up or down. From what I experienced, ZBrush doesn’t focus too much on real life measurements and but more on the artistic aspect of sculpting.
- First make sure the Floor Grids are visible
Go to Draw > Select either X, Y and/or Z as the plane. (usually Y-plane is enough).
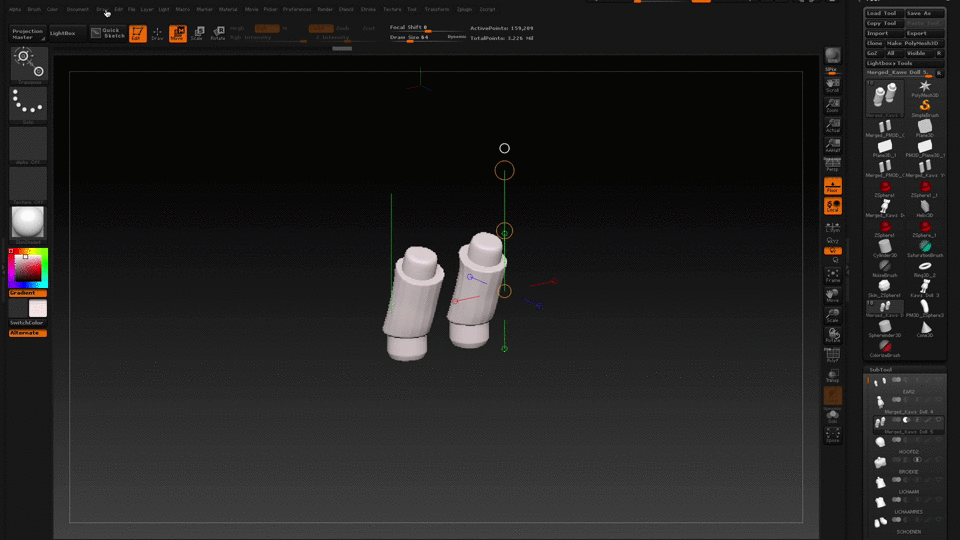
2. Change grid size
Let’s make sure the grid size means anything and you could say one block is 1 square millimeter for instance.
Go to Draw > Put Grid Size to 100 and Tiles to 10.
Now you could see if an object is 4 blocks wide, it is actually an object of 4 mm.
3. Measure item
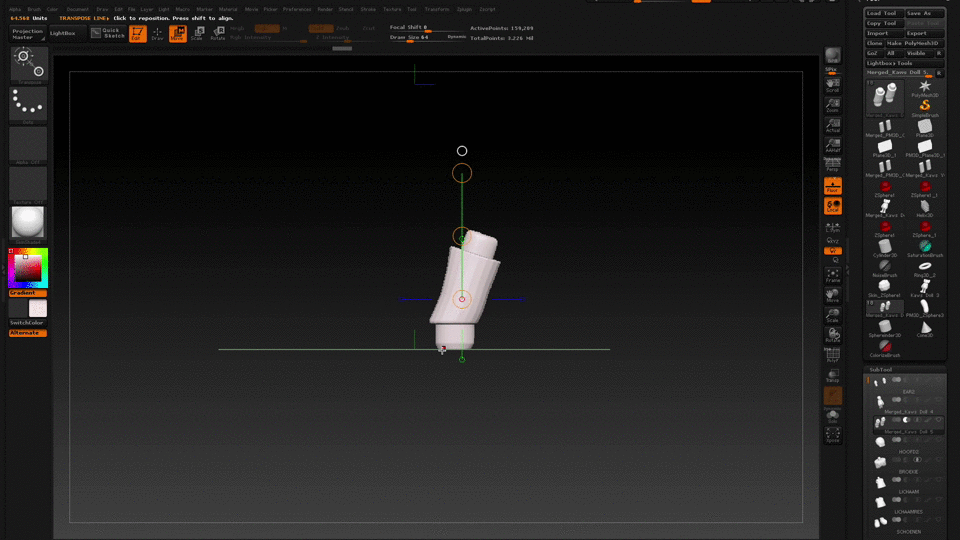
To measure your model you can use the Transpose tool or the Move tool.
Go to Brushes > Transpose [Shortcut: B, T, R] or select Move (upper menu next to Draw).
Click and drag the part you want to measure (make sure you click on the model). On the upper left corner you will see the units!
Hold shift after clicking if you want to measure exactly the vertical distance of the model.
The units are either in mm or inches, whatever you prefer and you could use this later on for 3D Printing.
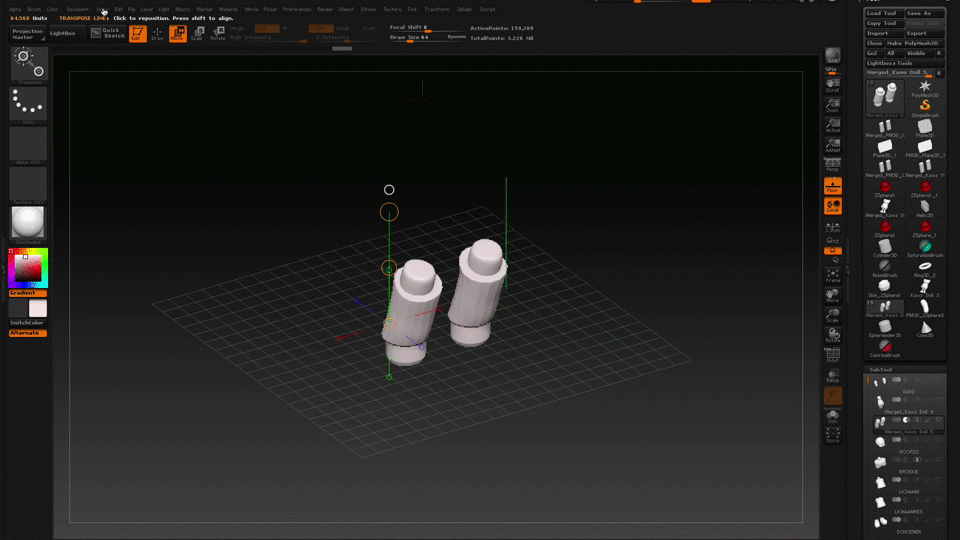
4. Scale to preferred size
If you think the object is a tad too small and it could be a bit bigger, you could of course scale it up so it fits your whole print bed size.
Go to Scale (next to the Move button) > Click and drag on the item > Use the red circle to scale the object.

SPLITTING MODEL
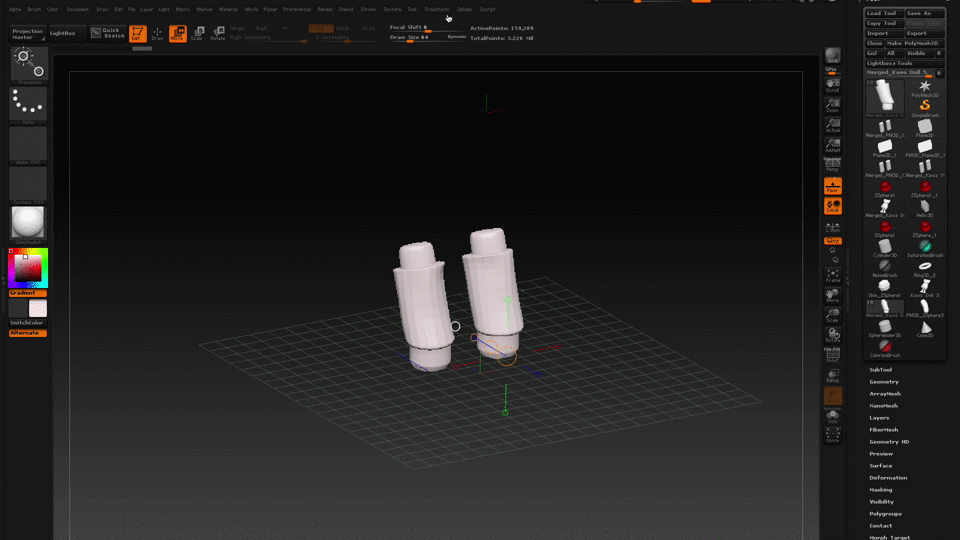
1. Duplicate the parts
Go to SubTool > Duplicate.
I always suggest you to do this, so you can always go back and have your original file to make some adjustments to.
Duplicate it twice so you will have one original model, and two models which in the end will be the separated parts.

2. Mask the part where you want the model to be splitted. (hold CLTR (or CMD on mac) to go in masking model and use the draw tool to mask out parts of your model)
Click on CMD and drag a rectangle. Try do this as precise as possible.
Note: you could also mask the splitted area by the mask brush. It is up to you what’s the best way. You can change the masking option by clicking on CMD and changing it on the upper left side (below Projection Master).
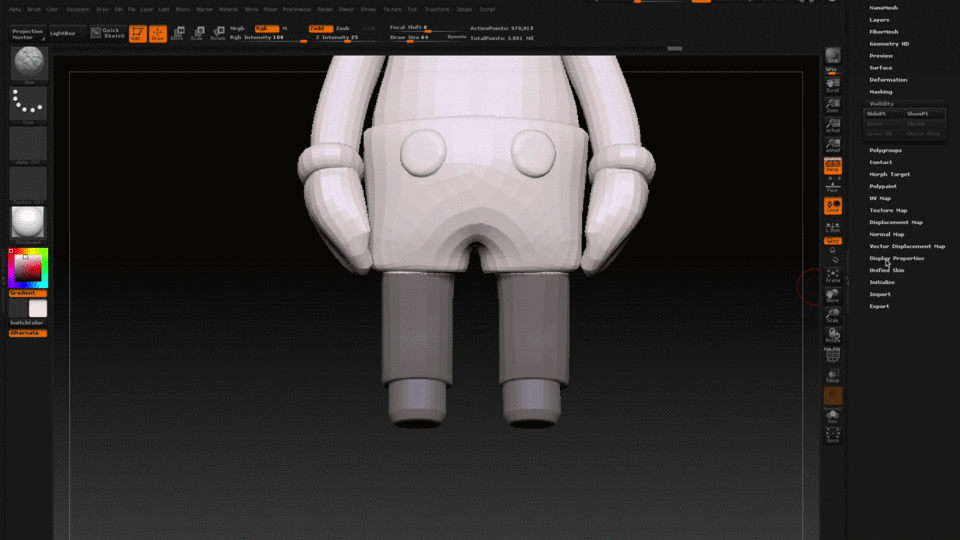
3. Hide the part
Go to Tool > Visibility > Hide Part
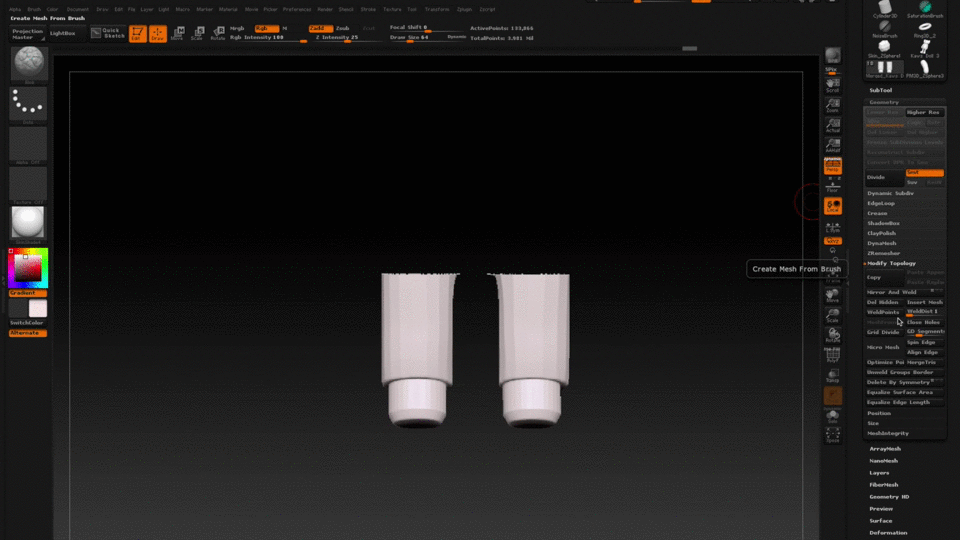
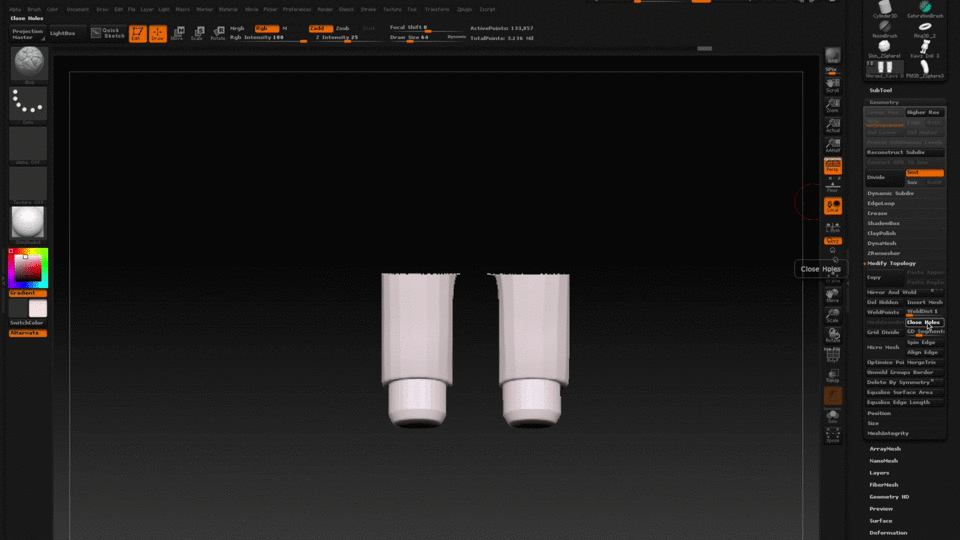
4. Delete the hidden part and close the caused holes.
Go to Tool > Geometry > Modify Topology > Del Hidden > Close Holes
Once you’ve hidden the part, the model is open and the other part is only hidden and not deleted. This is why in step 1 you need to duplicate the model twice.
Now you should have a separated piece of the model which is airtight.
5. Do the same for the upper part.
Mask the other area of the model, or simply the same area. You can inverse the selection by cmd + clicking outside the model.
And simply follow step 3 and 4 again.
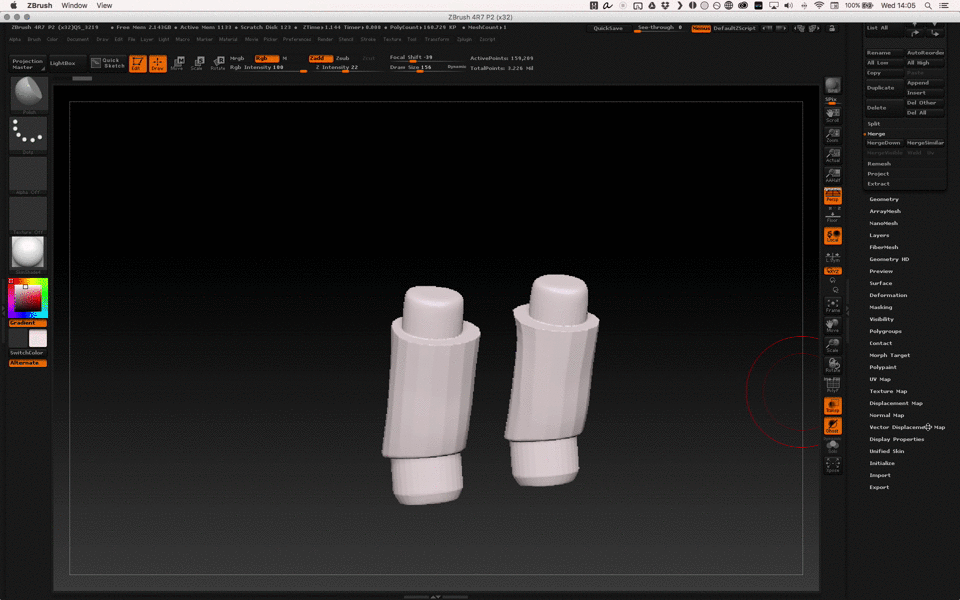
6. Add a cylinder as the joint piece.
Go to Brushes > InsertHCylinder. [Shortcut for the cylinder is: B, I, Y]
Insert the cylinder on the model where you want it to fit on the other piece.
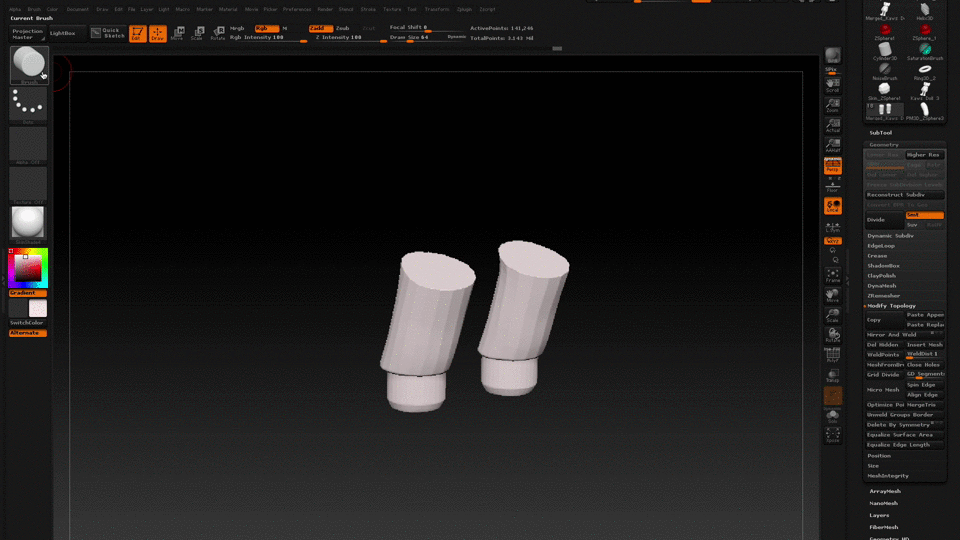
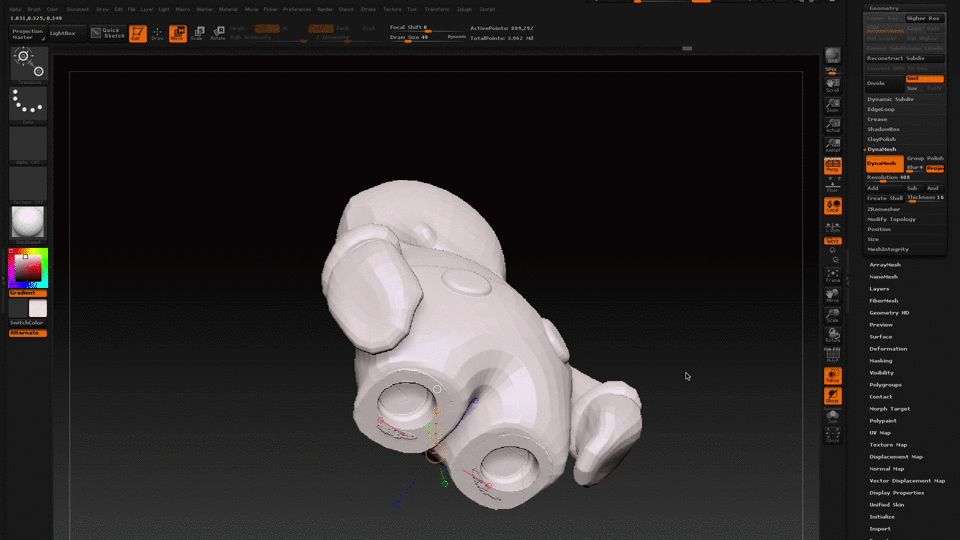
7. Dynamesh the parts together.
Now you still have a model that consists of two pieces. To make it one piece you have to dynamesh it.
Go to Tool > Geometry > Dynamesh [Shortcut: cmd + drag outside the model twice!]
On the left upper side you can see ‘projection in progress’, after this process you’ve got one model and if you want more like these joints it is just a matter of adding another cylinder.
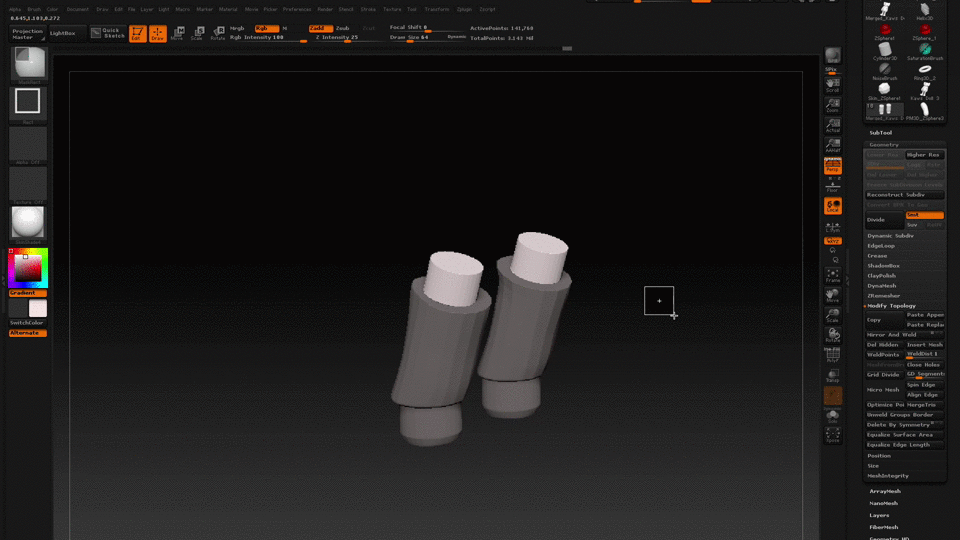
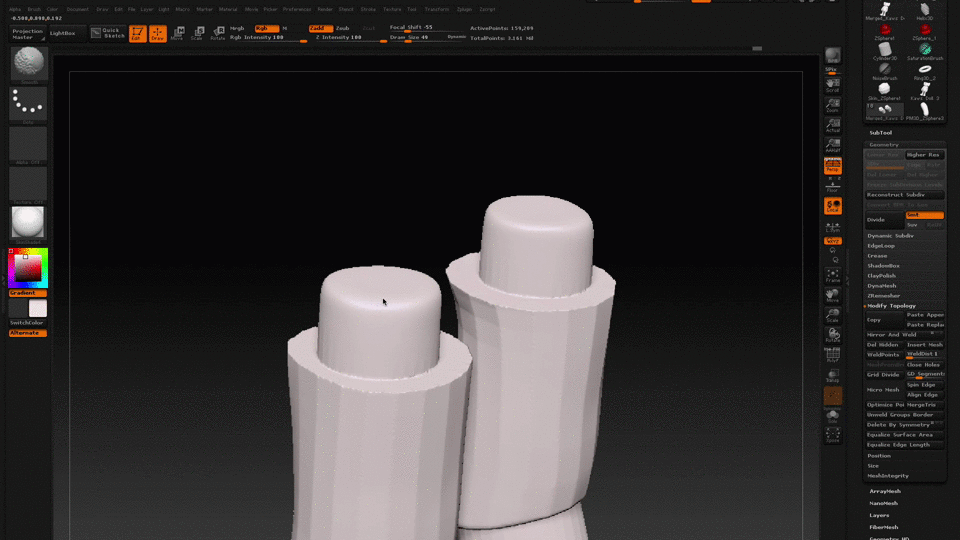
8. Smoothen the edges.
It is very important that the joint will fit on the other part, to improve this I usually smoothen the edges quite a lot to make it fit easier.
To choose your smoothen brush, simply click on Shift and sculpt on the model. Also feel free to use the Polish brush which might be useful as well [Shortcut for Polish brush: B, P, O]
9. Inflate the part.
Once the separated piece consists of 1 piece and the joints are added, we need to inflate the part. Before doing this, duplicate the part and save it with a different name so you know this is one of the pieces to be printed! Step 9 is not mandatory but from my own experience I’ve noticed that you always need a tolerance. This tolerance is not too big if you are going to print it with an SLS or SLA printer, but it definitely is if you would like to have the end model printed on a desktop FDM printer.
Go to Tool > Deformation > Inflate (x,y,z) by 5-10. (Do this with the duplicated model, not the one you renamed for 3D Printing)
10. Extract a piece of the other part to make this piece fit into that one.
This final step is crucial to make the parts actually fit on each other.
I suggest to toggle the Transparency on (right bar below PolyF). Now it is a matter of placing the item with the joints right below the model you want to extract it from.
Go to Tool > Subtool > Select the part with the joints > Shift-click on the ‘up arrow’ so it is above on your SubTool panel > Select the half moon (right next to the preview in SubTool).
Select the part without the joints > Shift-click on the ‘up-arrow’ so it is on top of the other part.
Go to Merge > MergeDown
Now go to Geometry > Dynamesh [Shortcut: cmd + drag outside the model]
This will give you the object in two separated pieces. One with the joints, one with the hole for the joints.
Don’t forget to smoothen out any small issues.
The first time it might be quite a hassle, but once you know how it works you will get better and quicker. You could do this to any model with one or more joints and of course instead of a cylinder you could also use a rectangle.
3D PRINTING MODEL
After splitting your model into pieces with the right measurements it’s time to 3D Print them.
1. Update size ratio
Go to ZPlugin > 3D Print Exporter > Advanced Options > Select ‘Set selected SubTool size’ > Choose the units you worked with (mm or inches)
2. Save file
In the same menu select ‘visible’ and click on STL.
Save your file and that’s it.
Now it’s a matter of uploading your STL file into the slicing software for your printer and 3D Printing it.
I suggest to not play with the scaling after it is imported in the slicing software and also try to choose the right position to have as less support as possible (for FDM printers).
I hope this quick tutorial helped some of you people out to use ZBrush for 3D Printing.
I’m not a professional digital sculptor, so I’m open to suggestions and improvements!
In a next Talk I will post a tutorial on how to make the ‘Kaws companion’ designer toy and probably also provide you with the items to print your own designer toy.
Feel free to follow me on Instagram (pherkan) to follow my process.
Have a nice day!