Hi everyone, I just thought I would share with you this bronzeFill print. It’s my first attempt to age the material and I’m quite pleased with the result:
The design
The model is an underwaterhockey stick that I modelled, based on sticks I use. It’s not a hard print and only requires a little bit of support on the bottom of the handle. It has been printed quite a few times in a small scale to use on keychains and a full size one in XT-CF20. You can find it, with a puck, here on Thingiverse: Underwaterhockey stick by Joshyu - Thingiverse
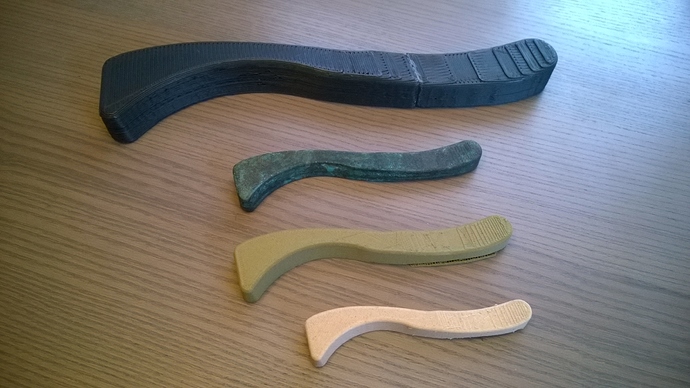
You’re seeing (from top to bottom) full-sized XT-CF20, mid-sized bronzeFill and brassFill and a small-sized woodFill.
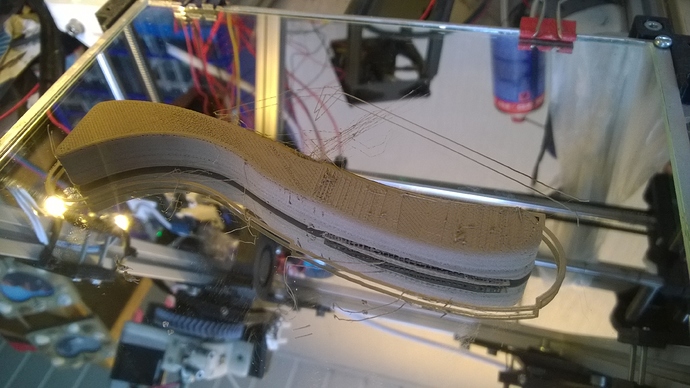
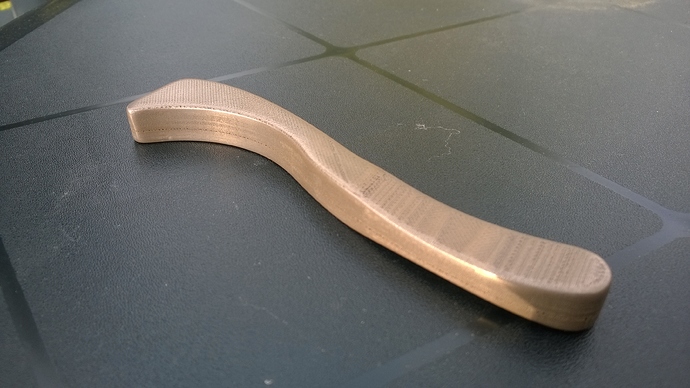
The print
Printed in a 0.12mm layer-height with 100% infill, it’s about an hour to complete this 10cm print. It used 40 grams of 2.85 bronzeFill filament. Remember that bronzeFill is about 3x heavier than regular PLA, so it feels surprisingly heavy for its size. As I mentioned, a little bit of support is needed. As you can see this wasn’t a perfect print, flow wasn’t always optimal.
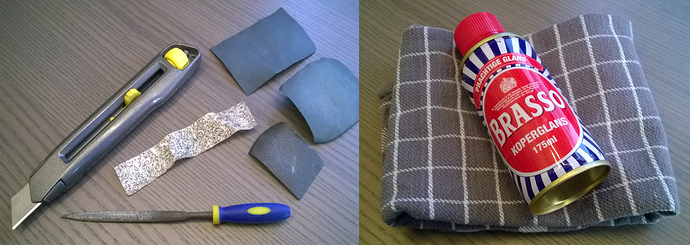
Post-processing – sanding & smoothing
Starting off with sanding and smoothing the model using various pieces of sanding paper and other tools. All the sanding I do is under water to avoid heat build-up and particles sticking to the sanding paper. After about an hour of work I gave it a coat of copper-polish (Brasso) to bring the shine out. Though later I read that this might actually protect the metal particles which will hinder creation of patina. I can’t tell one way or the other, but the final results don’t seem to show a big negative effect.
Post-processing – Patina
So far all of this was nothing new for me. Normally I would give the model a coat of clear paint to protect the shine, but for this project we’re not done yet!
Reading what other people have been trying, I started out with a mixture of salt and vinegar.
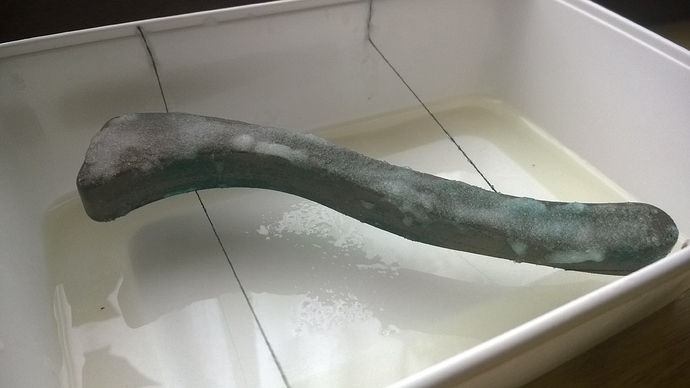
Using an old plastic container and two bits of string glued to the sides to keep the part off of the floor, I covered the model in the mixture and started the wait.
After 2 days, this was the result.
Interestingly, the sides (+bottom) that didn’t have any salt on it showed a lot more patina then the top. So this didn’t really seem the way to go, the salt actually looked like it was protecting the model a little. So I washed off most of it, but left a bit on there in order create a more diverse pattern.
At this point I also added ammonia to the mix (I had to go out and buy it, otherwise I would have started with it). The mixture was mostly salt and ammonia now, with just a little bit of vinegar left. This time I also left the container with the lid on outside in the sun.
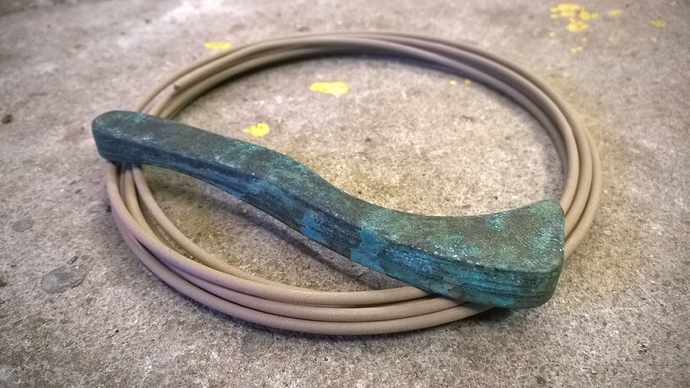
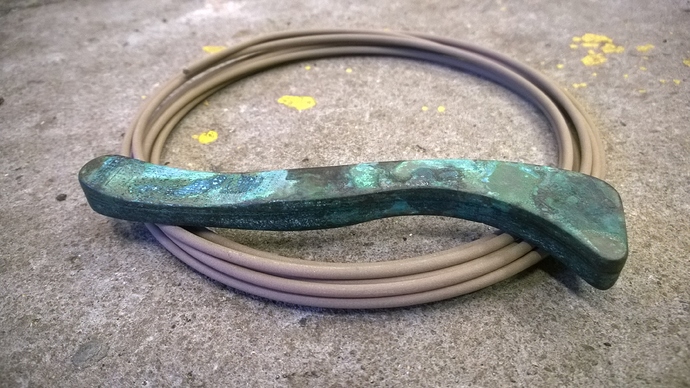
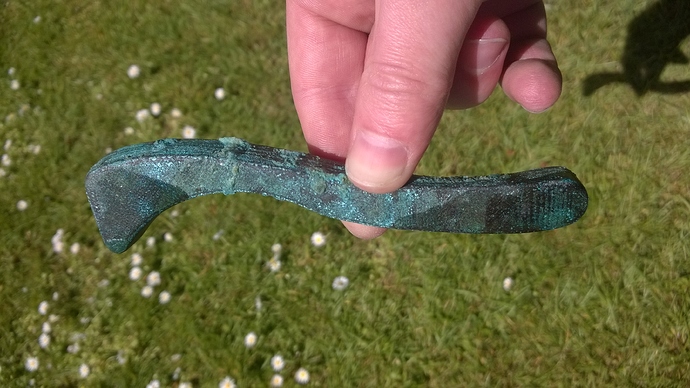
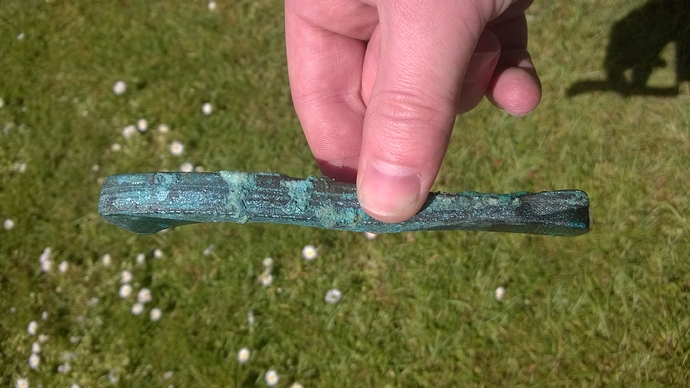
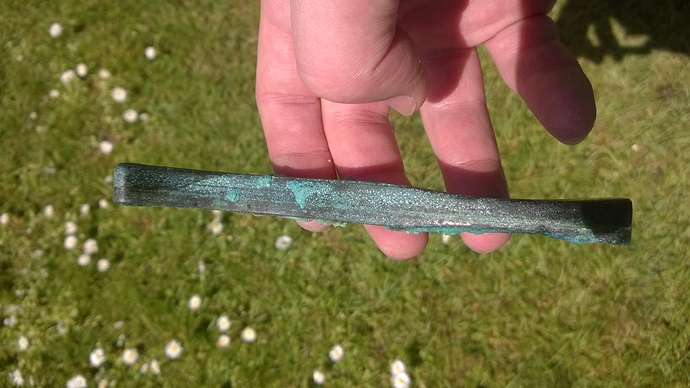
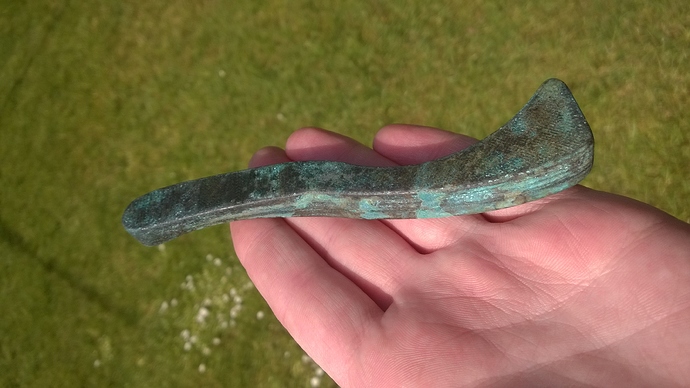
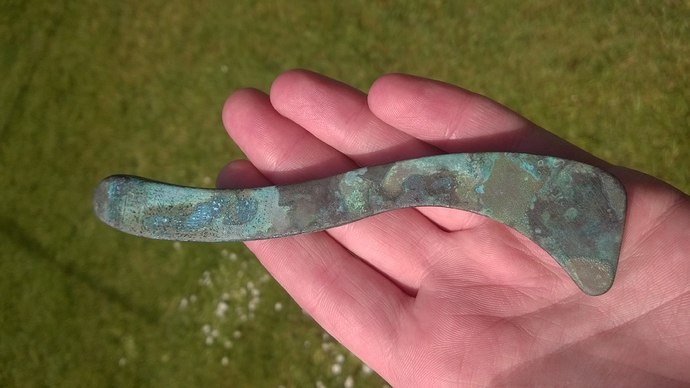
The result
Another 5 days later the result was there! In the pictures below you can see the result while the salt was still on there. This is easily washed off with some water. The darker parts are where the model got wet, this seemed to slow down the process a bit.
So there you have it! This was actually easier and faster than I thought but I’m really pleased with how it turned out.
Cheers,
Jos