I wanted to share some of the optimized settings we use for printing. The first print we will discuss is the Marvin. He is the robot needed to determine your printer configuration, and your experience. With CTC we made it easy.

Lets start off saying there are NO MODS on our printers for these prints. The print settings below should generally work for everyone. Some hotter climates may need to adjust temps down.

We used Makerware with only the Standard and High presets. Makerware Firmware 7.5.

ABS:

  • 110C Build plate
  • 230-235C Extruder
  • 55-100% Infill (100% always Recommended)
  • No Raft
  • Blue Painters Tape
  • Level Build Plate!
  • Enclosure helpful on large prints

PLA:

  • 60C Build Plate
  • 200-205C Extruder
  • Blue Painters Tape
  • No raft
  • Fan on at 5th layer and up for large prints
  • Level Build Plate
  • 50-100% Infill


When printing in .05-.10mm resolutions, use a head speed of 50-60mm at Maximum. Less will yield better results, and a travel speed of 100-120

We use Blue Painters Tape on the build plate. When leveling the plate, you keep a single piece of paper under the nozzle the entire time. It should have SOME resistance. It should not be hard to pull or push the paper through.

Be advised, don’t remove the paper from under the nozzle until the leveling is complete. You wont be able to put the paper back under the nozzle if pulled with the painters tape applied.

-CTC

4 Likes

It’s nice to see a manufacture here, giving advice on how to get good prints. Any advice on how to get warranty service from sellers, who claimed to be ctc, and now don’t answer emails?

1 Like

I’ve just stopped trying to get a hold of them and just got the parts on eBay. The thermocouples go out around 200+ hours due to heating and cooling. I have over 2000 hrs on both my ctcs and that’s the biggest issue I’ve had with the printers. What are your issues?

1 Like

Currently I am battling a warped aluminum build plate. Aside from the 3 end stop cables and 4 stepper cables, which I have replaced using assorted vendors, I have had to replace my motherboard. CTC uses the cheapest, uninsulated wires on it’s heater cores, mine was installed without a set screw. The heater rotated during a print a shorted the motherboard. Flash forge motherboards are nice, 2560 AT mega, extra FET and led driver. After I replace the heat bed, the only thing left ctc in my printer will be the case, 4/5 stepper, linear ways and power supply. I have had my printer since July, so just a few days past 6 months.

I’ve not had that many issues with both of mine. I’ve just replaced a heater cores. I bought the CTC knowing for the $750 and $550 price I would have some issues for the price. My Makerbots where $2100 each. Even Makerbots have uninsulated wires just before it goes into the tip. I have 3 of those at school.I have some of the mods I’ve done on Youtube on CTC printers. Mine are going on year and half. Here is one of my videos on Youtube, My second CTC printer. - YouTube

1 Like

If you are having issues with your CTC printer Contact Us

We are glad they are working well for you!

Your videos are definitely suggested viewing material.

Contact Us

I will point out “Open Source”.

Your printer is almost out of warranty. You could have at any time sent your printer to CTC for repair. We are not in the business of sending customers parts without any validity to their claim. I suggested with your warranty ending, you could renew.

We offered our repair services, and many are using it. We try to offer a very low cost printer that can and will print with the same quality as $2500 printers. Based on 3D Hubs.com, our printer is #3 for quality.

The pictures posted are from an .100mm layer height, non modified CTC printer, running 7.5 firmware. It is ideal to print from USB cable. I am aware that Makerbot Industries firmware 7.5 is not SD supported.

You do not need to modify ANY settings other than listed in order to print correctly.

My post, was merely a guide for beginners. Based on your post I will assume you are an expert so my suggestions need not apply.

Hey @Chris_Donovan, it’s an awesome post! Will be so useful for the incoming Hubs. Appreciate it and welcome to the community!

1 Like

@Chris_Donovan It was good to see CTC make a presence on the Google group, that first step will go a long way of curing the lack of communication in the past.

I just wanted to explain here why I doubted your print. I has been quite a while since I printed my Marvin, but i do remember the struggle. I did start with setting very similar to what you had suggested, and was severely disappointed in my results. In fact, the 3D hubs rep, had basically told me the print was unacceptable for the resolution quality i was aiming for, and now that you have an insight into my professional life, any result other then perfect is a fail. I was given the advice to slow down, reduce temp, and install a filament cooling fan. The first pic, with three marvins, on blue tape, 60mm/sec, .1 layer,230 degrees. I had even tried increasing the number of models to allow the eyebrow and keychain to cool before allowing the hot nozzle to dwell on the same area. In order to get the desired results, the second photo, I had slowed down to 30mm/sec, was printing ABS, on glass, at 205C and had installed a nozzle fan and soldered the extra MOSFET onto my motherboard. Im sure the layer adhesion was poor, but the overhangs were nice(ish). The extruder stepper groaned considerable printing at that temp.

The Marvin pictured was just on a counter, no print photos, no photos of the printer, basically just a Marvin. These are the internets, there is photochop. And more then a few companies have been caught with the digital airbrush.

And again, the best advice I can give to any newbies joining this maddening hobby. The number 1, undenyable, always pertains user tip, is learn how to calibrate each filament you use. This is done by measuring the diameter, accurately, of the filament, entering that into the slicer, and adjusting the extrusion multiplier(s3d), feedstock multiplier or your slicers equivilent. A 20mm test cube 100% infill should be square on top. If the top bulges you are over extruding, and if its concave you are under extruding, you adjust the multiplier, as per your slicers instructions. This should be done for every spool of filament as some properties tend to vary from batch to batch.

1 Like

@Cory I am aware of your videos, and they were a contributing factor to my CTC pruchase. I am pretty sure you know who I am, as I manage the CTC 3DPrinter Google Group, my user names are fairly similar.

@Chris_Donovan I welcome you to join the CTC user group on google, Redirecting to Google Groups. You can read all about the quality customer service that many CTC users have received. I spend a considerable amount of time, attempting to create a community around our broken printers. I believe that if CTC is truly trying to turn around the brand image and public awareness, providing some support, in a much less commercial manner, would go a long way. I did contact you when you posted what was obviously a advertisement for your warranty plan. I will post your response to me here , also you did not use the correct name, you addressed me as my last name, a common mistake but a window to your attention to detail.

"We can service your printer, but we don’t replace CTC’s warranty.

If you would like to purchase the 3 year warranty from us we will cover your product for 3 years."

I interpreted that as " you can pay us to fix your printer, or buy a service plan from us". You also sign your OP as “-CTC” but then, in your email, you talk about not replacing CTC’s warranty. You will have to forgive my skepticism as I have dozens of documented unanswered email from someone else who claimed to be, and also advertised a warranty, CTC the manufacturer. Even @coberdas in his post said he “just stopped trying to get a hold of them”

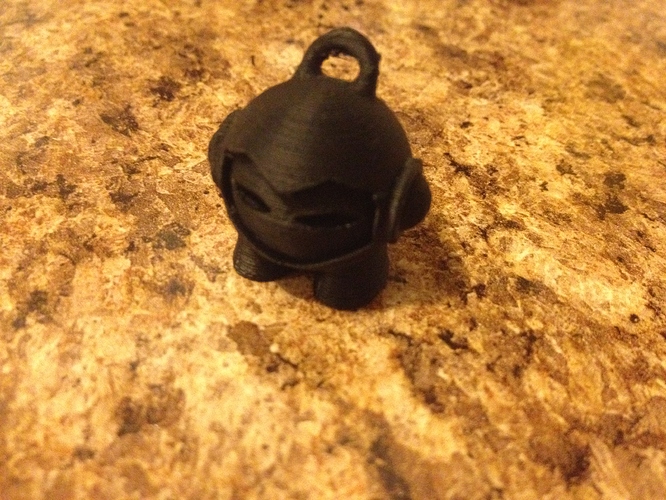
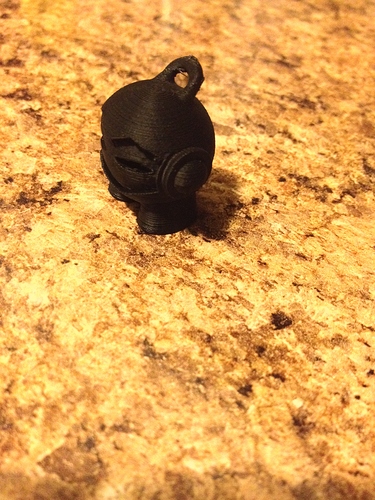
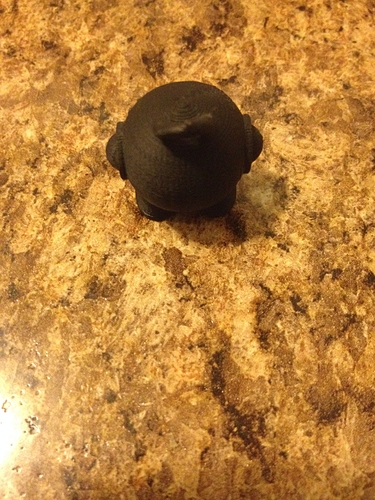
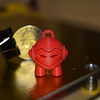
I would also like to see a video of the marvins you have photos of being printed,as I challenge the photos that you have provided. Are the photos ABS or PLA? You mention in your tips that a cooling fan should be used, and you claim that no mods were done to your printer. You claim that you used MBI firmware 7.5. are you aware that your bots ship with a flashforge 7.2 firmware, and if you follow the update instructions that you provide, you loose SD card functionality, on any card larger then 2G. SD card support for larger then 2G was a sailfish option. Flashforge made a hybrid MBI/Sailfish for firmware 7.2. That information was provided to me by a co-author of sailfish.

You also proclaim blue tape for printing ABS on, this is not what I would call optimal. Kapton for ABS, blue tape for PLA. Glass for all. You also failed to mention probably the most import step to getting good prints, A properly calibrated 100%infill cube. you can change all the settings in the world, if you are under or over extruding, no temp, or bed prep, or speed will change your poor results.

All of the stepper cable that I have had to replace were not due to breaks in the wire, but failed crimps, one of the failures was on the Y motor which never moves. Endstop cables just break, I know that it is a common problem, but that shouldnt matter. Its not my fault that you copied a poor design, that is no excuse. Just because Flashforge, who cloned MBI, did it, doesn’t mean you shouldn’t be liable for its breaking. I have since repaired the problem for the last time, I used a cable that was rated for a flex application, and I re-routed it to maintain a “minimum bend radius”.

I cut a piece of glass from an old picture frame and hold it onto my build plate with 3 document clips. I use hairspray to give the glass a little stick and it works perfectly.

Hi, I bought a CTC Dual recently to act as a backup to my MakerBot Replicator 2. I have lots of experience with this - I set up the Service & Support function for MakerBot UK.

I found that out of the box, the CTC did not work at all, both extruders would simply click when trying to print the supplied PLA at any temperature.

I could only get it to print anything at all by upgrading with: Spring-Loaded Extruder CTC Replicator Dual fit by LightbeamZ - Thingiverse - a non destructivemodification that is exactly the same as MakerBot encourage for the Replicator - so I don’t expect this will be a warranty issue.

Now, I am printing items in ABS, and I have discovered that in order to get anything to stick and not warp significantly, I have had to increase the temperature of the nozzle to 270 and the bed to 140. I strongly doubt that these are true temperatures, as the filament will barely extrude at 235.

Are there any suggestions for checking the calibration of the temperature reporting?

I have the 7.2 firmware which reports the machine as The Creator, and am using MakerBot Desktop 3.9.2.