I finished painting my 3d printed Kerbal (http://www.kerbalspaceprogram.com - which, btw is a great game!) and thought I share the result here.
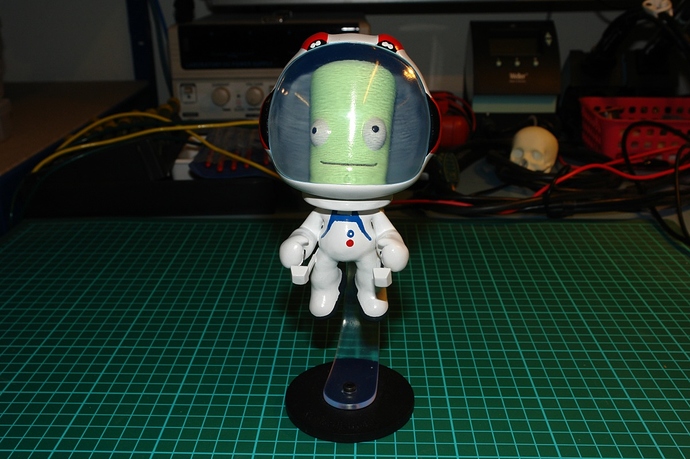
Obviously I’m not very good at painting things freehand with a brush, but I think it still came out pretty well:
As you can see from the 1-cm grid, he’s a rather big fellow (and heavy!)
I got the mesh directly from the game using 3d Ripper DX and fixed and refined it in Netfabb Private. (http://www.netfabb.de/)
I printed it on my Form-1+ (http://www.formlabs.com) in formlabs clear resin v1 using 0.1mm layers. Total print time was about 12 hours but I probably put 30 hours into post processing it and painting it after that.
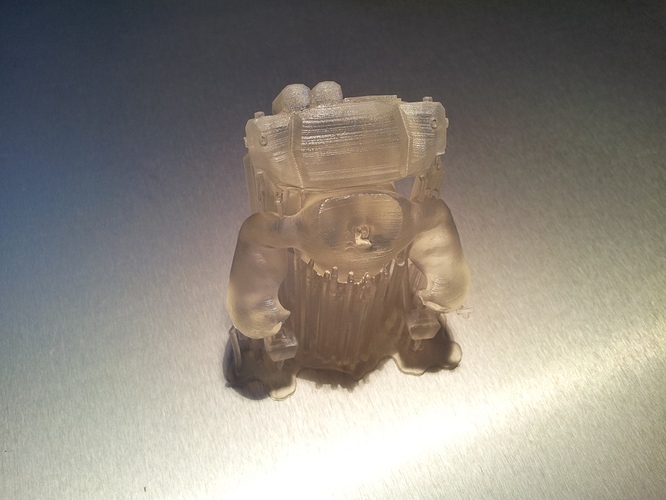
This is how the body looked freshly out of the printer (already washed with Acetone):
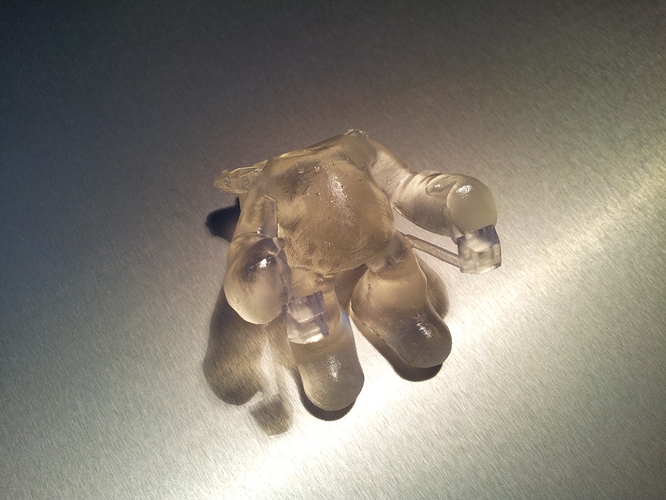
And after support structure removal:
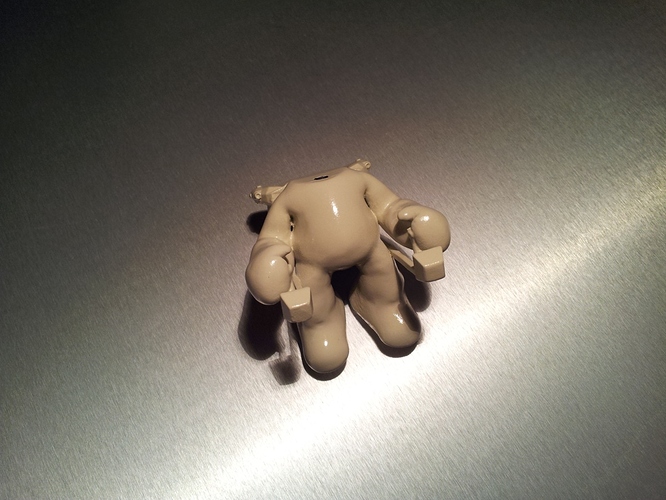
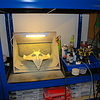
And some post processing. A little filler and sanding makes for nice prints! I usually use automotive spray filler, then wet sand it, repeat. In the end I top coat that with 2K epoxy spray finish. The 2K coat, while protecting the print, will also give you the possibility to use window cleaner to wipe out any botched airbrushing / painting:
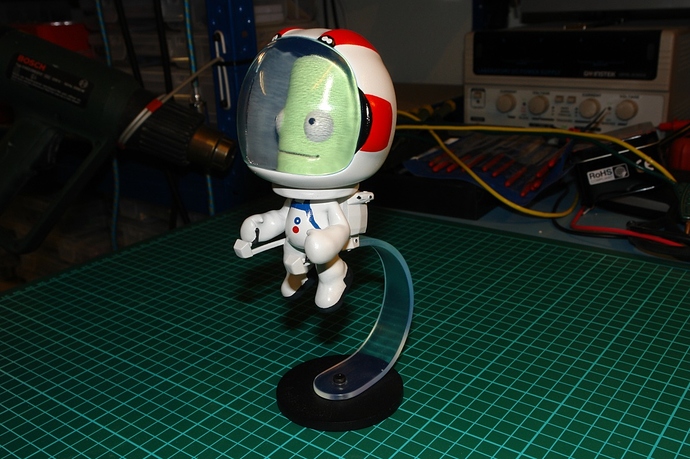
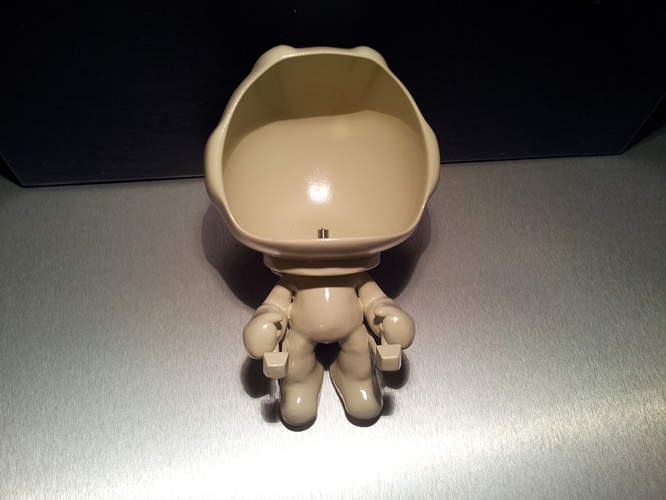
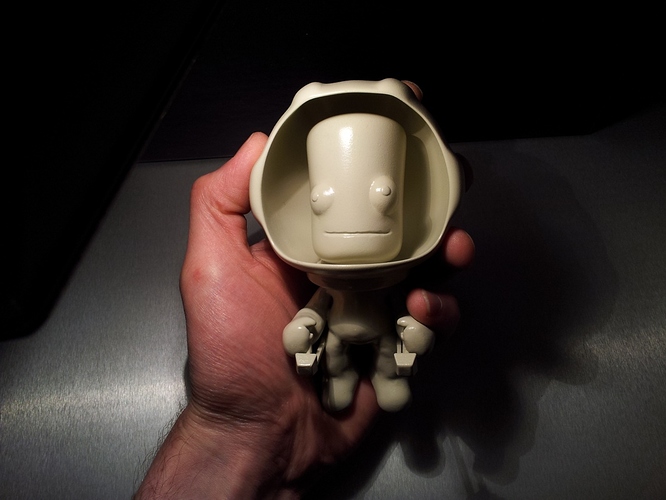
And this is the result for all the parts. I connected the body through his helmet with the head using a 4mm stainless steel rod, which was glued into the body. It’s still possible to turn his head (and helmet)
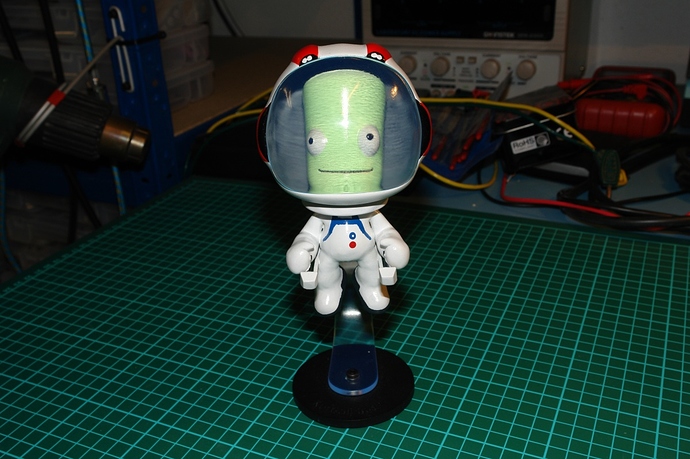
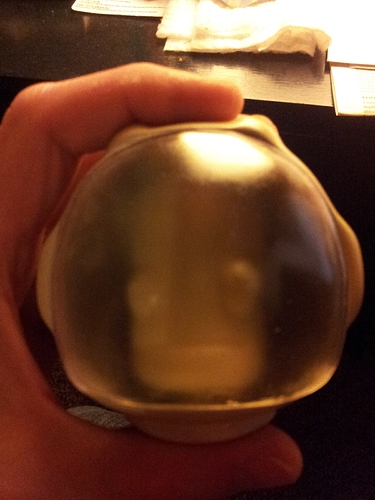
I also printed him a visor. It’s still unpolished here, you can see the visor polished in the first pics (sorry for the blurry pic)
Polishing was done by sanding it up to 800 grit and then using acrylic polishing paste. After that, I applied transparent glossy spray coat to protect it from UV light (which would turn the clear plastic yellowish)
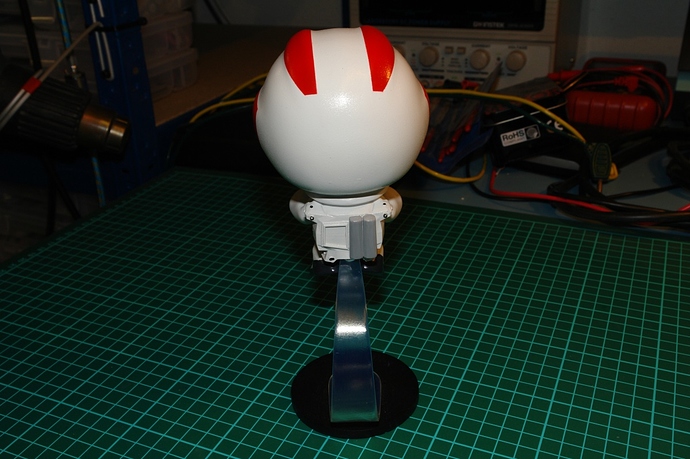
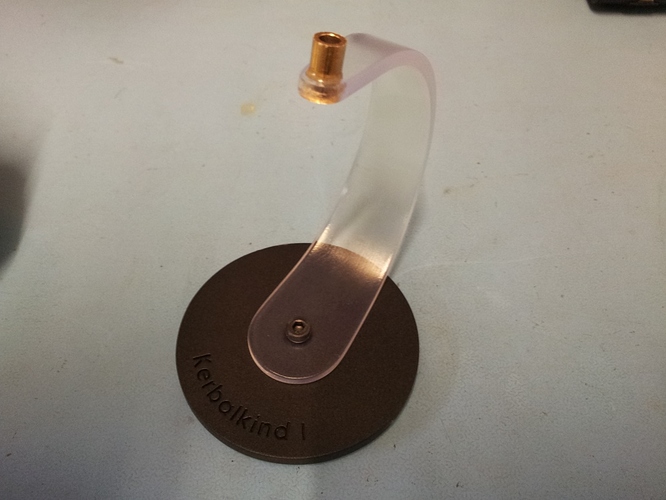
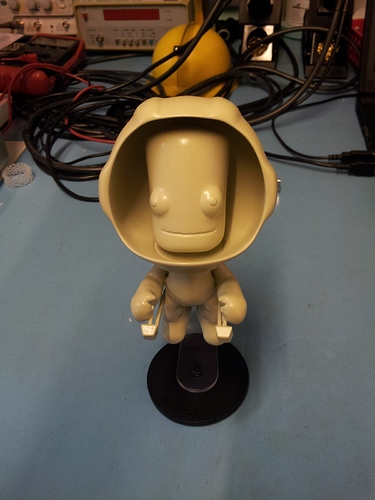
I also designed him a stand, so he can happily float around in his jet pack. The stand is also printed (except the hardware parts) and the base was airbrushed black. The curved beam was also polished but coated with transparent matte spray:
This is how he looked before painting:
Summary:
- Printer: Form1+
- Material: Clear resin v1 using 0.1mm layers
- Used 3d Ripper DX and Netfabb Private
- Total print time: 12 hours (30 in total, post processing included)
- 2K epoxy spray finish
- Polishing: by sanding it up to 800 grit and then using acrylic polishing paste
- Dimensions: Height (with base): 20cm, Height (without base): 15cm, Width (Helmet): 8cm, Depth (Helmet): 7cm
Hope you enjoyed.
Tobias